Polyform Norway Fender Inflation Guide
Inflation Guide for Polyform Norway Fenders F1 to F11 and Buoys A1 – A5
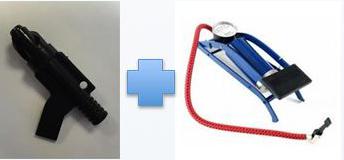
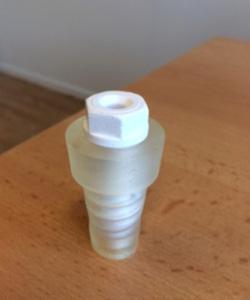
To make the operation easier, Jimmy Green advise that you purchase a Polyform fender inflation nozzle adaptor which fits on e.g. a car tyre foot pump.
Polyform fenders can often be inflated without the nozzle although this is not guaranteed.
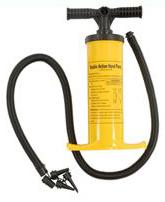
Suitable hand/foot/stirrup/electric pumps are widely available.
Just ensure that you use a nozzle with a snug fit.
Do not use a Bicycle pump or a football pump needle
How to inflate a buoy or fender
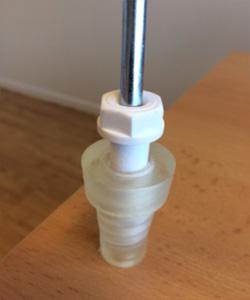
Step 1 – Remove the valve
Use a flat head screw driver to gently unscrew the value screw located at the rope hold end.
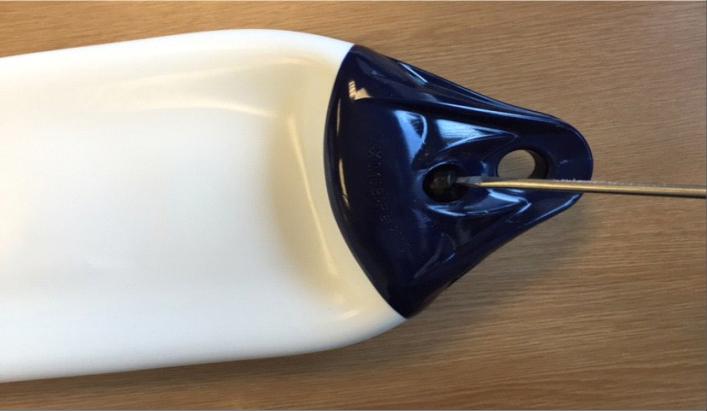
Step 2 – Insert a suitable nozzle
Connect a suitable nozzle to the pump and introduce the nozzle end to the valve housing with a snug fit.
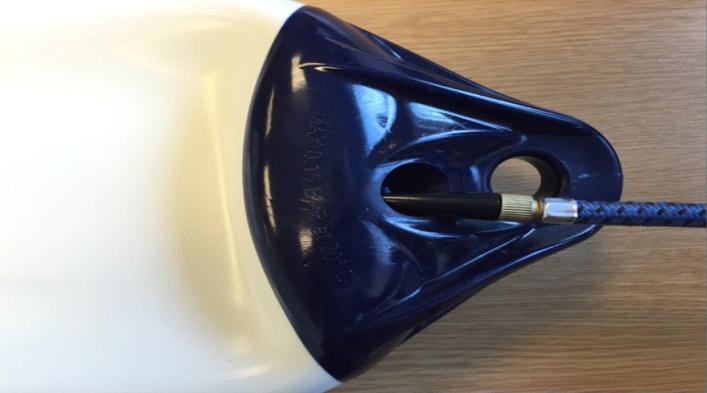
Step 3 – Inflate the fender
Hand, Foot or Stirrup Pump
Inflate until the fender takes shape.
NB. you should be able to depress the fender by approximately 12mm. Compressor Maximum 2 bar (30psi) pressure.
Be carful not to over inflate.
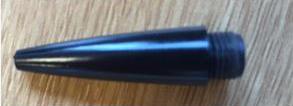
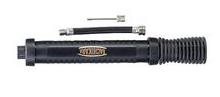
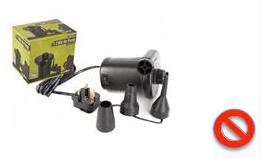
Pumps and nozzles that will work with Polyform Norway Fenders
Stirrup pumps with standard three nozzles.
Adaptor works with e.g.standard car pump.
This type of nozzle will fit.
3cm long and 0.4 cm diameter at the smallest end.
Slightly larger sizes are compatible (not supplied).
Pumps and nozzles that will not work with Polyform Norway Fenders
The needle on this pump would not be suitable for inflation.
Football pump needle adaptors are too small.
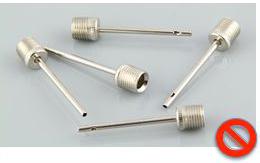
Air bed electric pump adaptors are too big.
Air filling V-40 valve
Sealed / closed
** The V-40 value is designed for easy inflation and deflation of our largest products, A6, A7 and F13.
This is not a non-return value.**
Valve screw is open and cannot get further out of the valve.
Valve screw is now ready for inflation through centre hole.
**To inflate the product, the valve is opened by turning the valve screw anticlockwise 3-4 times. A 17 socket (17mm socket) is the correct tool.**

Inflation of the product through centre hole.
Close / seal valve screw after inflation
**Inflate through the centre hole of the valve screw itself and tighten the screw. **
Related Articles

The Jimmy Green Rigging Sales Team are very happy to help you with any aspect of designing and custom building a bridle to meet your bespoke requirements. Follow the Jimmy Green Custom Build process from the top left, to the apex, and back to the bottom left to create a > This will produce an instant … Continued
Read more
The Jimmy Green Rigging Sales Team are happy to advise you on any aspect of custom building your individual mooring bridle. Follow the Jimmy Green Custom Build process to get an instant quote and complete the order yourself Splicing, optional – Choose a finish for one end of your bridle – not making a selection … Continued
Read more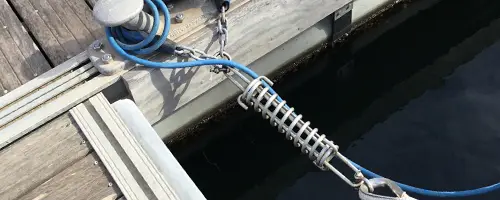
Rubber Snubbers and Stainless Mooring Springs act as excellent mooring compensators Snubbers and Springs can be deployed on mooring and anchoring lines, that require an extra amount of stretch, to help deal with shock loads. Some rubber snubbers can be retro fitted while some need to be threaded on to the rope before splicing the … Continued
Read more
Single Line Mooring Strops ~ for Swinging Moorings Measure or estimate the freeboard at the bow i.e. the vertical distance between the bow roller and the surface of the water Decide the optimum angle from the mooring buoy attachment to the stemhead – this will be the load bearing angle of the mooring strop Calculate … Continued
Read more