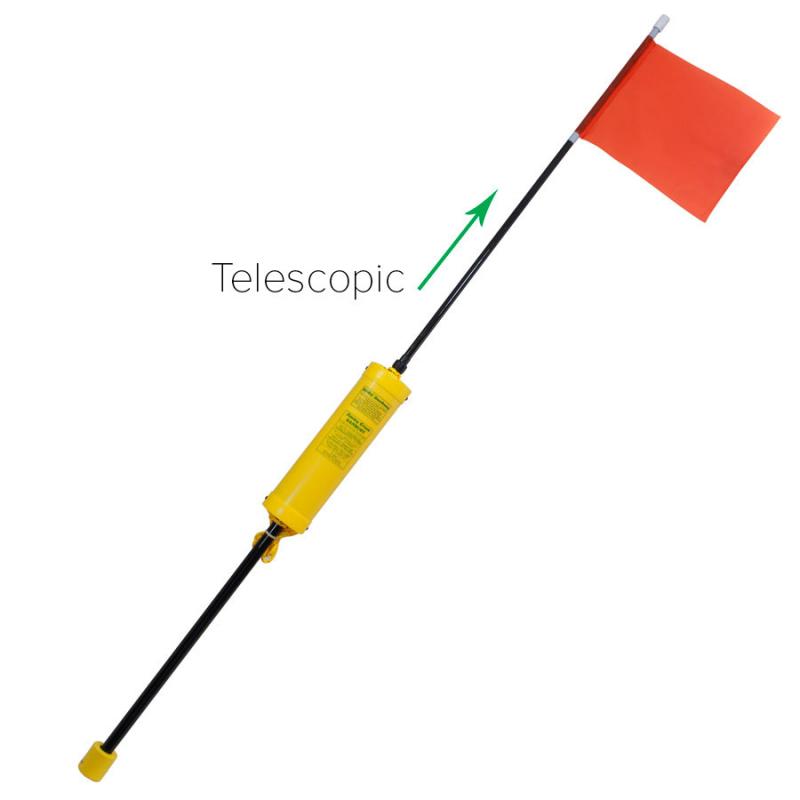
Danbuoy Instructions – 3 piece Telescopic – Offshore
To prepare Danbuoy
- Pull out both the extension sections until the taper provides a secure grip
- Release flag
- Ensure the rope runs free
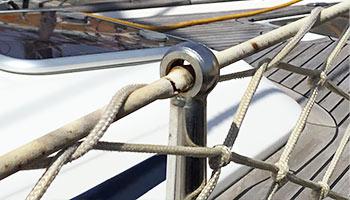
- The danbuoy should be mounted onboard in a secure position as near the stern as practicable to facilitate quick deployment
N. B mounting bracket not included.
To stow Danbuoy
- Collapsing requires holding the top section so the boot is off the ground and giving it a short sharp knock
- Roll the flag tightly around the rod and secure with e.g. sellotape
- The flag fits inside the middle tube for protection from the elements while stowed.
- Collapse the top tapered section first, otherwise it is difficult to stow the flag without any unnecessary creasing
- Lower the extensions in order, taking care not to ruffle the flag and tidy rope
- Disable automatic mechanism on light.
Instructions for fitting the light to the top of the danbuoy
Test the fit of the connector on the top of the danbuoy.
A good snug fit is advisable and this can be achieved with e.g. insulation tape, sealant if required or gap filling adhesive if preferred
- Push connector down over top of rod
- Line up the pre-drilled holes
- Tap in lower half of black rivet
- Tap in top half of black rivet
Please note that the black rivet is supplied in two parts
It is essential to tap in the lower half first, before tapping in the upper part because tapping them in simultaneously may result in distortion of the rivet and/or a minor fracture in the connector or the spacer around the hole.
N.B. a stainless steel machine screw/bolt may be used if preferred.
Instructions for setting the automatic light
- Unwrap the lanyard
- Unscrew the top of the light
- Insert batteries
- Push batteries down to align the pin hole with the gap in between
- Insert pin
- Screw top back on tightly to ‘on’ position
- Attach lanyard to yacht e.g. the backstay
Instructions for resetting the automatic light
- Unscrew the top of the light
- Check the batteries are working
- Re-insert the batteries
- Push batteries down to align the pin hole with the gap in between
- Insert pin
- Screw top back on tightly to ‘on’ position
- Attach lanyard to yacht e.g. the backstay
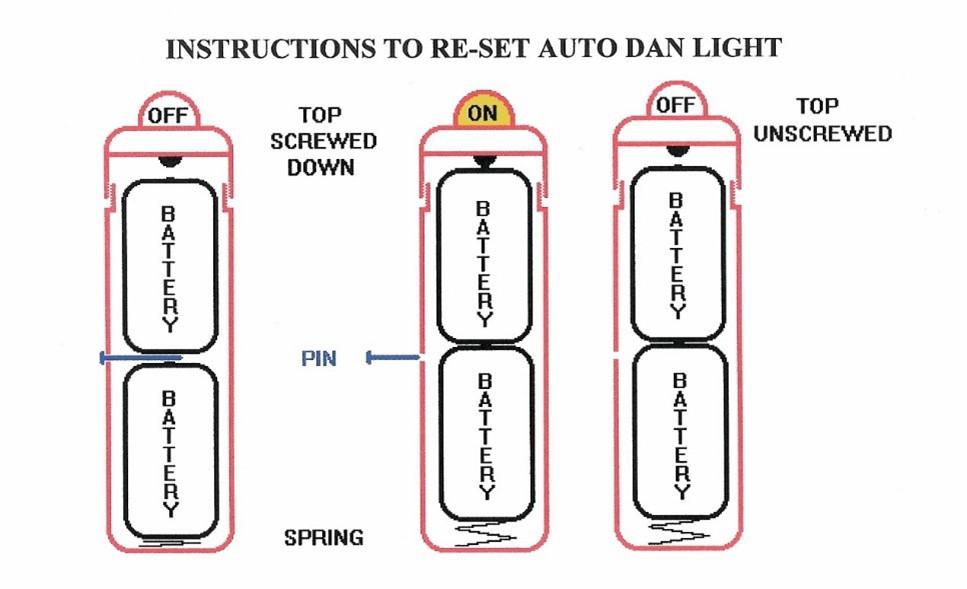
Deploying the danbuoy – pull the pin from the light fitting, allowing the batteries to connect, and the light to activate.
RORC Danbuoy Requirements Advisory
The Jimmy Green Offshore Danbuoy can comply with RORC requirements if it is:
- fully extended with flag deployed
- fitted with a working automatic fixed light
- attached via 3 metres floating rope to a lifebuoy complete with retroreflective tape, drogue and whistle
Jimmy Green 3 piece Telescopic Danbuoy Dimensions:
- Stowed Length 1.2 metres
- Extended Length overall 3.25 metres
- 3 PIECE OFFSHORE DANBUOY DIAGRAM AND DIMENSIONS
Jimmy Green Danbuoy Advisory
A danbuoy is normally the first item deployed in the event of a man overboard incident.
Therefore it should be mounted aft, extended ready, located for quick deployment.